Recipe: Cinnamon Rolls
Source: The Pioneer Woman
Time: 3 hours
Ease: 10
Taste: 10
Leftover Value: 10
Down the Drain or Keep it in the Strainer: Keep it in the Strainer!
I've saved the piece de resistance for last.
Every single time I make these, something seemingly terrible happens and I fear the worst.
Something like, I double the batch instead of halving it. Or, I forget to let the buns rise before shoving them into the oven.
You do things like this too, right? Please say you do.
But in the end, they always come out looking like this:

and all my fears subside.
Before I carry on, I want to take this moment to mention the star of my Thanksgiving breakfast:
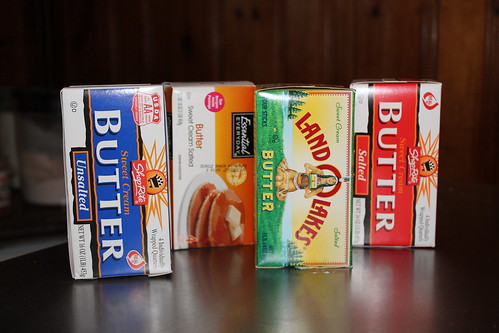
Dear dear butter. How could we exist without the goodness you add to cakes and pastries?
I'm sure my thighs could still exist, but my heart would have an empty butter shaped hole.
Alright, enough of the sentimental stuff.
These cinnamon buns start out friendly. The first steps require combining a warm liquid mixture with yeast. Then, mixing it all together with flour.
A lot of flour.
Hence why I desired to cut the recipe in half a few years ago to no avail.
The dough sits for an hour. I spend this hour trying to throw together one of my easier Thanksgiving breakfast recipes. This year I spent this time making the Mini Cherry Pecan Pie 'dough'.
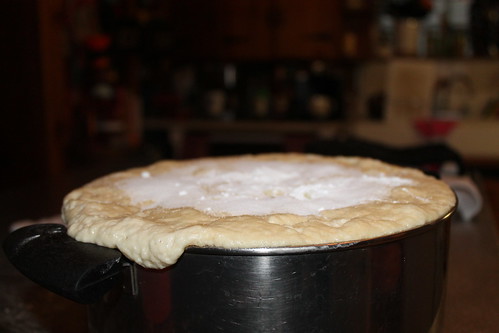
I always use this pot and I'm always annoyed when after an hour is up I realize I meant to use my larger pot.
The moral of this story is: use a large pot. And of course, don't be like me.
After the hour, baking powder, baking soda, and salt are sprinkled on top of the mixture. They are then mixed into the dough along with another cup of flour.*
*Note: You will more than likely need to add even more flour. I always knead the dough and then think, "Gee, this seems a little moist but I think it will work" and then I'm filled with regret later.
Because the step that follows is going to make your cinnamon rolls even more moist, gooey, and messy. It's what takes this recipe from fun and friendly to painful agony.
Okay, I'm a little dramatic. It isn't quite that bad.

What you're looking at, dear friends, is what I imagine the entryway of heaven must look like. Golden and delicious.
Alright, I'm not sure about the delicious part, but a girl can dream, can't she?
Because in the recipe she says you can use even more butter for the filling, I use exactly how much the recipe states (because even that seems a bit excessive considering the looks of the above picture). This is followed by covering the butter with cinnamon and sugar. The dough is then rolled towards you into one long luscious log of liberty.*
*This makes sense, I promise.
Because I like to give you the cold hard truth here about the recipes I try out, I am going to tell you the mixture of issues I always have at this step. First of all, my cinnamon rolls always end up oozing buttery pools mixed with cinnamon sugar by the end of the roll. The next problem is the dough isn't firm. This doesn't create the perfectly formed cinnamon buns you see in all the Pillsbury commercials. Instead my buns look like Pillsbury blobs.
Yet, once I assemble my blobs into their pans, bake them, and ice them, they always end up looking like this:
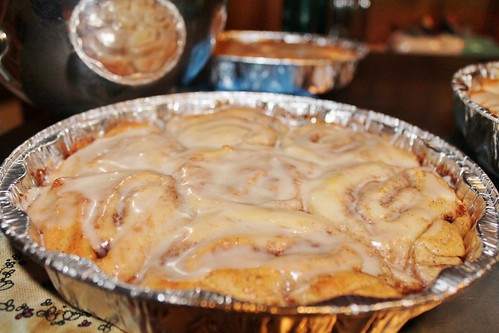
So for all the faults I have encountered in making these gorgeous globs of goodness, I suppose if they always come out tasting delicious, that's all that matters in the end.
No comments:
Post a Comment